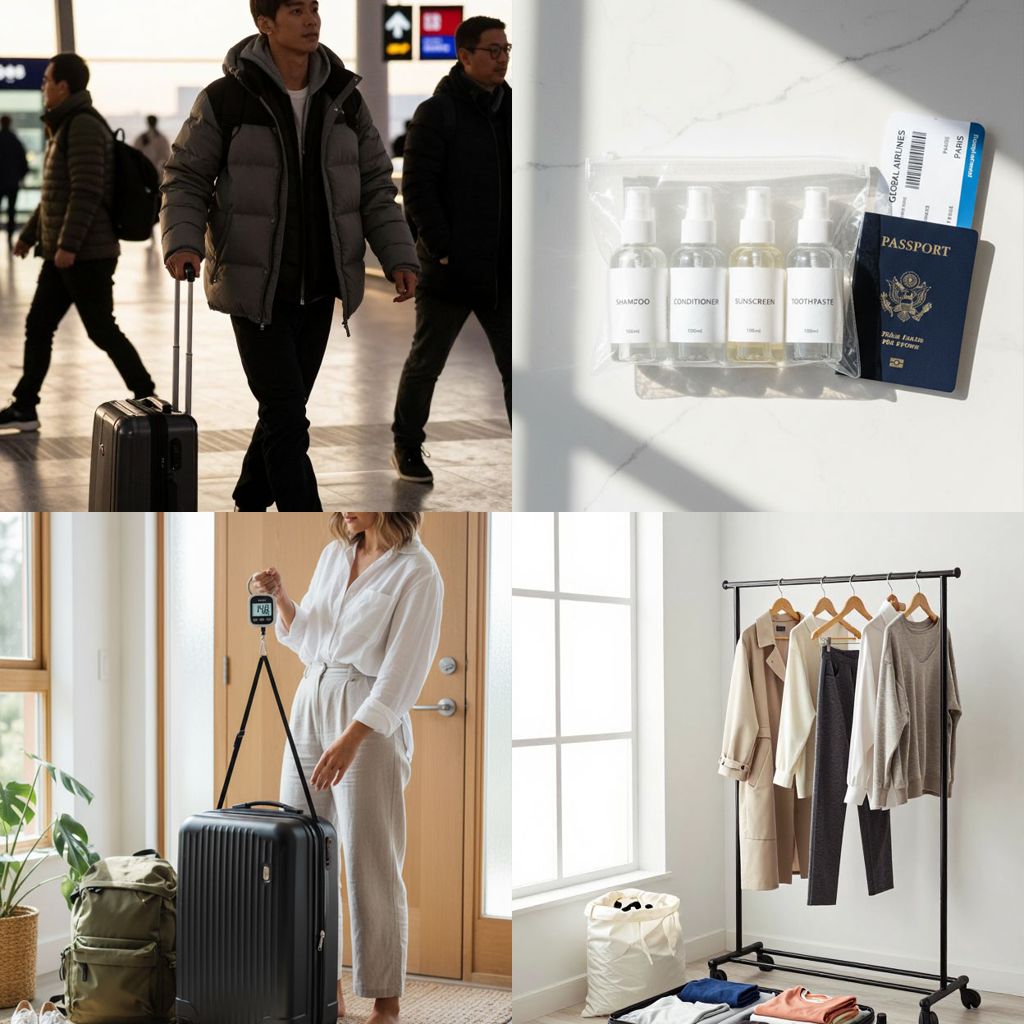
Look, we’ve all been there. You’re standing at the gate, watching in horror as they tag your carry-on for checked baggage because you stuffed it like a Thanksgiving turkey. I’ve learned my packing lessons the hard way over countless trips, and trust me, following a few simple rules can save you from gate-check fees, TSA drama, and that awkward shuffle of shame back to the ticket counter. Let’s talk about the carry-on packing rules that actually work every single time you fly.
Know Your Airline’s Size Limits (Because They’re Not All the Same)
Here’s the thing most travelers don’t realize: airlines can’t agree on a universal carry-on size. While the most common maximum is 22 inches by 14 inches by 9 inches, some budget carriers are way stricter. Frontier, Ryanair, and Spirit? They’re notorious for cracking down on carry-on dimensions.
I always check the specific airline’s website before packing, not just once but for EVERY flight. Why? Because if you’re flying a codeshare, the operating airline’s rules apply, not the one you booked with. That’s caught more travelers off guard than you’d think.
Pro tip: measure your bag with the wheels and handles included. That’s what they count at the gate, and gate agents have zero sympathy for “but it fit last time” excuses.
Master the 3-1-1 Liquid Rule (Yes, It Still Exists in 2025)
The TSA 3-1-1 rule isn’t going anywhere, folks. You get one quart-sized clear bag filled with liquids, gels, and aerosols. Each container must be 3.4 ounces (100ml) or less. That full-size shampoo bottle? Leave it at home or check it.
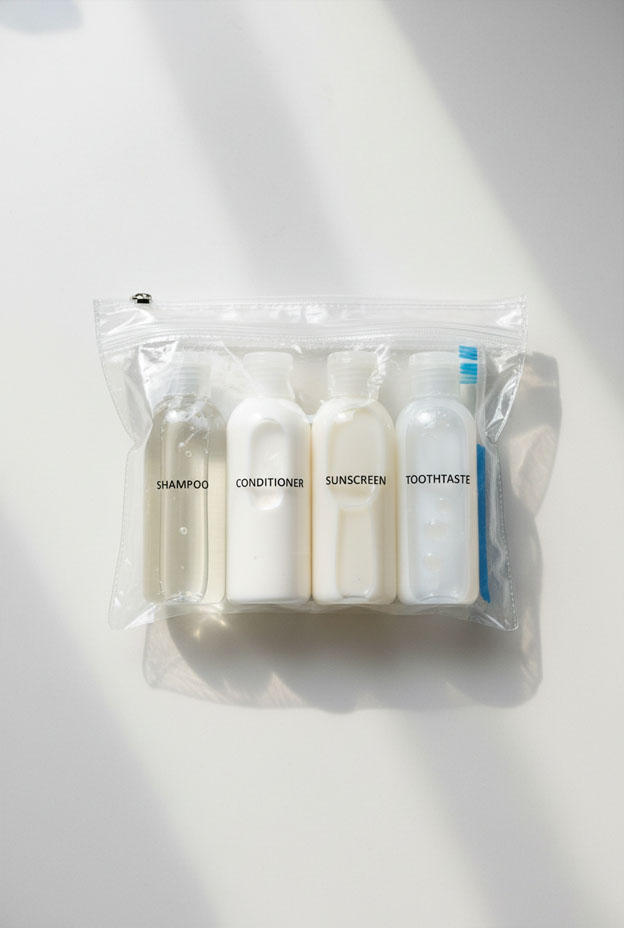
Here’s what counts as a liquid: shampoo, conditioner, toothpaste, sunscreen, makeup, peanut butter (yep, seriously), and even that fancy moisturizer you can’t live without. If you can pour it, spread it, or squeeze it, it goes in the bag.
The good news? Medications, baby formula, and breast milk are exempt from the 3-1-1 rule. Just declare them at security to avoid any hassles. TSA officers appreciate the heads-up, and it speeds up your screening process significantly.
Pack Electronics Where TSA Can Actually See Them
Nothing slows down the security line faster than someone digging through their bag looking for buried electronics. Everything larger than a smartphone needs to come out at security checkpoints. That means your laptop, tablet, e-reader, and any cameras with detachable lenses.
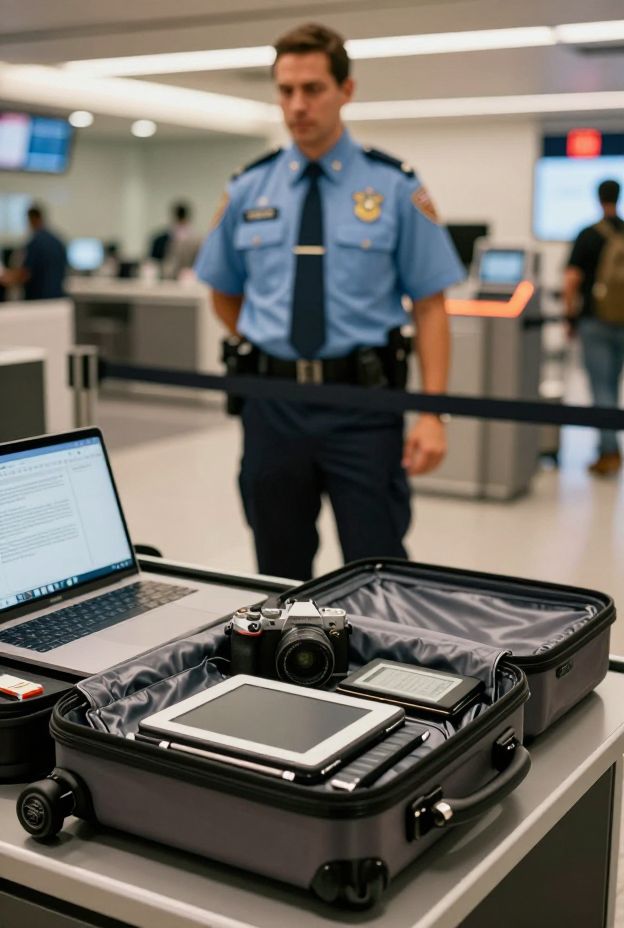
I pack all my electronics in the top compartment of my carry-on. When I get to security, I unzip, grab, and go. No hunting, no stress, no annoyed travelers behind me giving me death stares 🙂
Quick tip: invest in a dedicated tech organizer pouch. It keeps cords from tangling and makes grabbing everything at security a breeze. Plus, TSA agents genuinely appreciate organized travelers.
Understand Power Bank Restrictions (They’re Serious About This)
Power banks must travel in your carry-on, never in checked luggage. The FAA allows lithium-ion batteries up to 100 watt-hours without special approval. Most standard power banks fall under this limit, but you need to check the rating printed on your device.
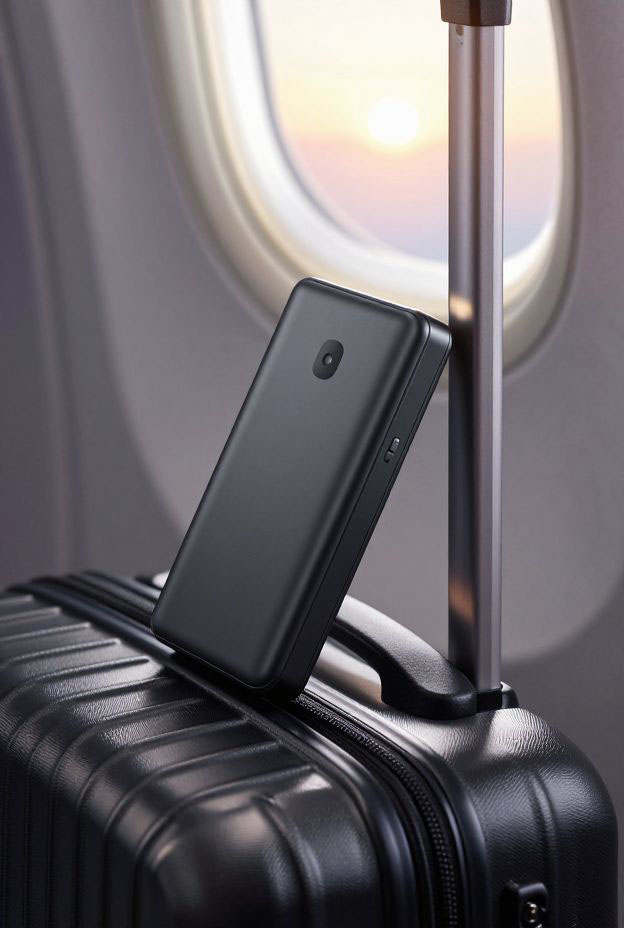
Here’s the math: if your power bank is 20,000 mAh at 5 volts, that’s 100 watt-hours (20 x 5 = 100). Anything higher might require airline approval or could be confiscated. After that Air Busan fire incident, Asian airlines especially have tightened power bank rules.
FYI, I always keep my power bank in a separate case and unplug my phone if it gets hot while charging mid-flight. Thermal runaway from lithium batteries is rare but serious, and flight crews are trained to handle it.
Roll Your Clothes (It’s Not Just a Trend)
Rolling versus folding is the eternal packing debate, but I’m firmly team rolling. Why? Rolled clothes take up less space and wrinkle less than folded ones. Plus, you can see everything at a glance instead of unpacking layers to find that one shirt.
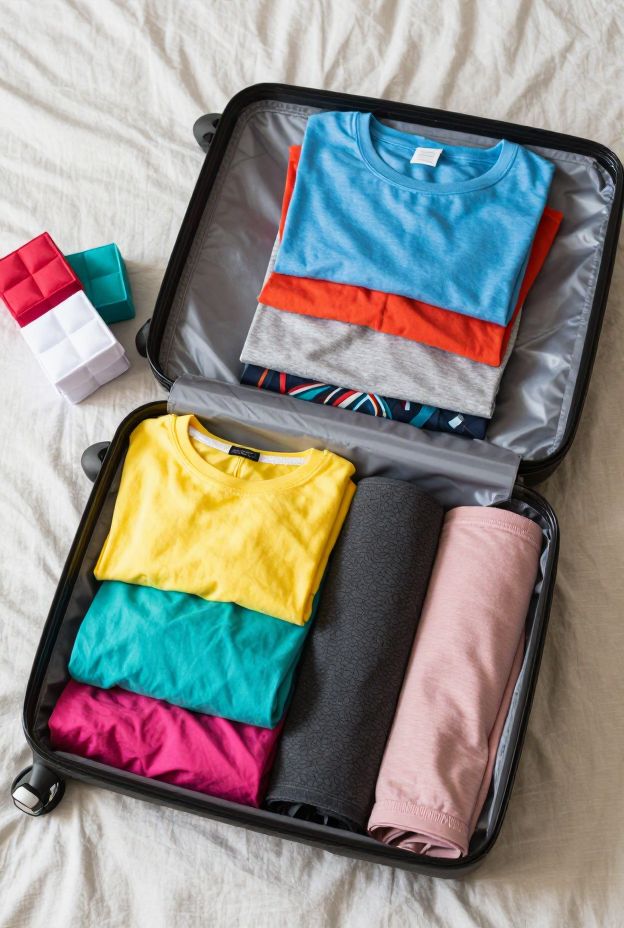
I roll softer items like t-shirts, leggings, and dresses. For structured pieces like blazers or button-downs, I fold them carefully and lay them flat on top. This combo approach maximizes space while keeping wrinkle-prone items looking decent.
Want to level up? Use packing cubes or compression bags. They organize everything by category and let you squeeze more into your carry-on without it becoming a chaotic mess. Trust me, you’ll never go back to throwing everything in loose.
Pack One Week’s Worth of Clothes Maximum
Here’s a game-changer: you don’t need three weeks of outfits for a three-week trip. Pack enough for about a week, then do laundry. Every hotel has laundry service, most Airbnbs have washers, and laundromats exist everywhere.
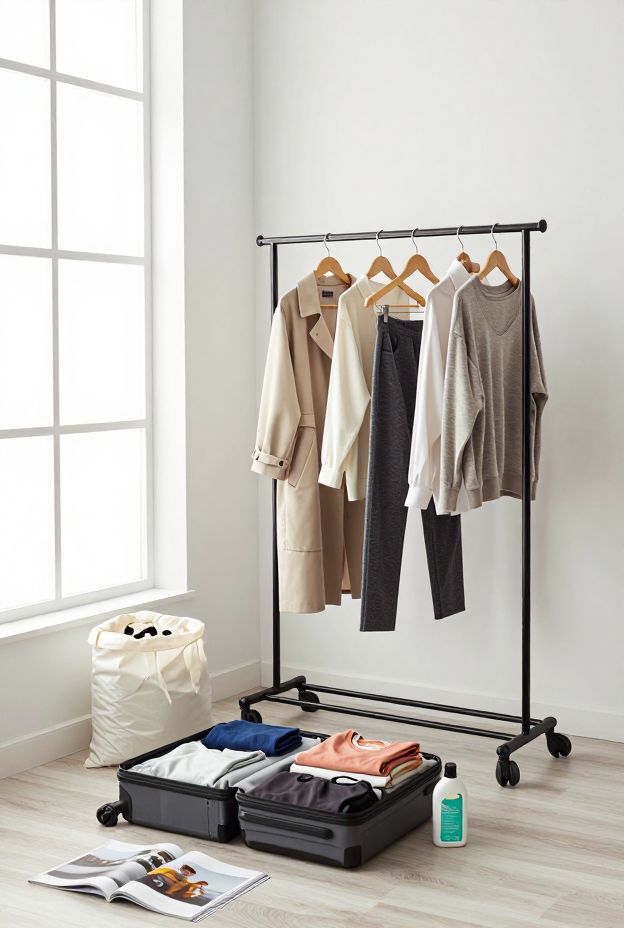
I stick to a capsule wardrobe approach. Everything coordinates, everything layers, and I can mix and match pieces to create different outfits. Neutrals are your best friend here. Black, gray, navy, and white go with everything.
Quick-drying, odor-resistant fabrics made from merino wool or synthetic blends are worth the investment. They wash easily, dry overnight, and you can wear them multiple times without them getting funky. IMO, they’re essential for carry-on-only travel.
Wear Your Bulkiest Items on the Plane
That puffy jacket taking up half your carry-on? Wear it to the airport. Same goes for your heaviest shoes, thickest sweater, and any bulky accessories. You’re not winning fashion awards in the airport anyway, so optimize for space savings.
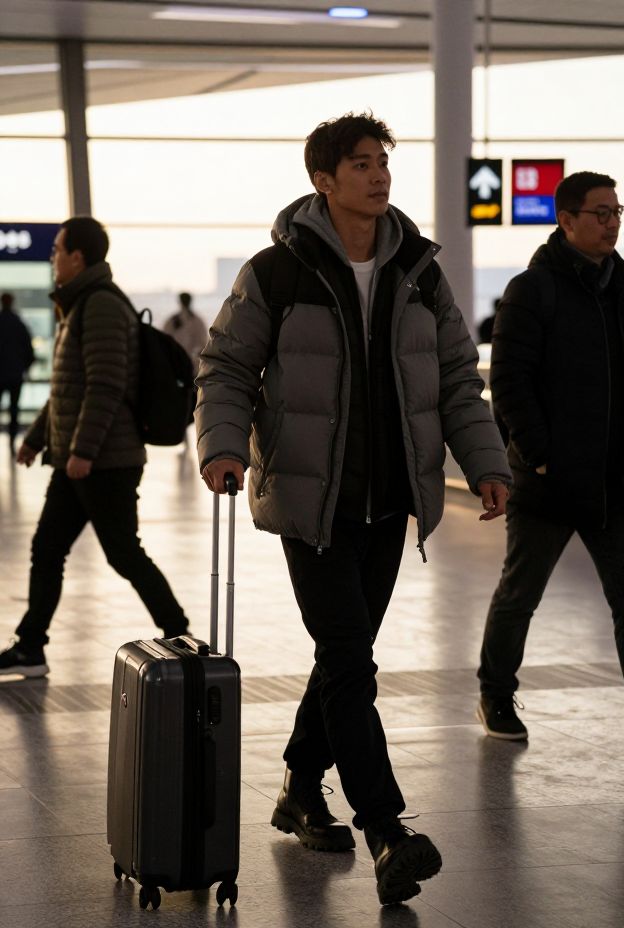
I layer strategically on travel days. Heavy coat, chunky boots, maybe a scarf I can use as a blanket later. Once I’m through security and at the gate, I can shed layers if I’m too warm. The plane’s usually freezing anyway, so I keep most of it on.
This trick alone can free up 20-30% of your carry-on space. That’s room for souvenirs, an extra outfit, or just breathing room so you’re not fighting to close your bag.
Keep Essentials in Your Personal Item
Your carry-on might end up in the overhead bin rows away from your seat. Your personal item stays with you. That’s where you put everything you’ll need during the flight: medications, electronics, snacks, entertainment, and toiletries.
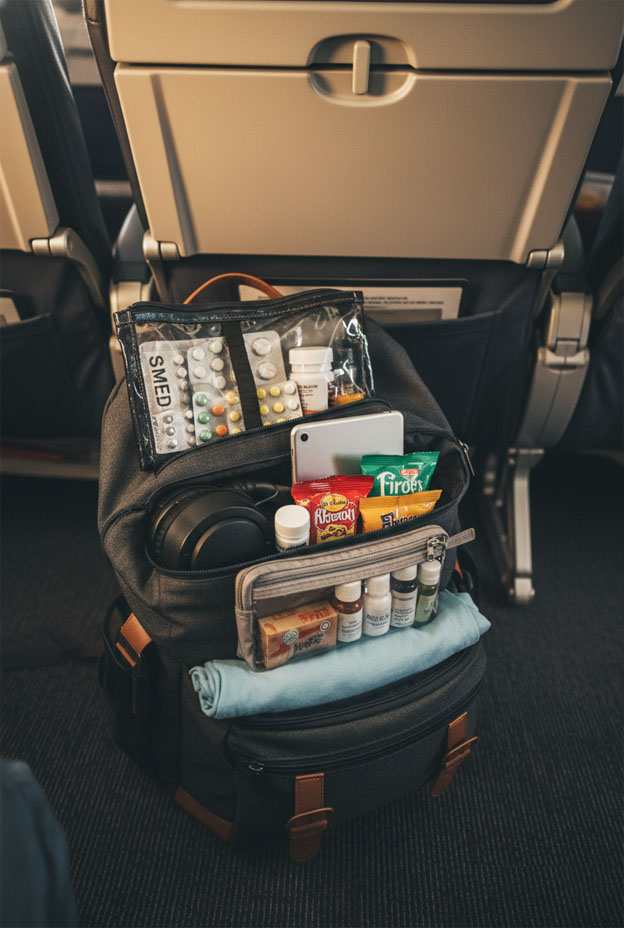
Most airlines allow a personal item up to 17 inches by 10 inches by 9 inches. That’s a decent-sized backpack or tote. I use mine as my survival kit for delays, long flights, and unexpected gate checks of my main carry-on.
Pro move: keep a change of clothes and essential toiletries in your personal item. If your carry-on gets checked unexpectedly, you’ve got backup. Lost luggage happens, and you’ll thank yourself for the preparation.
Fill Every Gap and Corner Strategically
Ever wonder why your suitcase feels half-empty but won’t close? You’re not utilizing dead space. Roll small items like socks and underwear, then stuff them inside your shoes. Pack belts around the perimeter. Use every single corner.
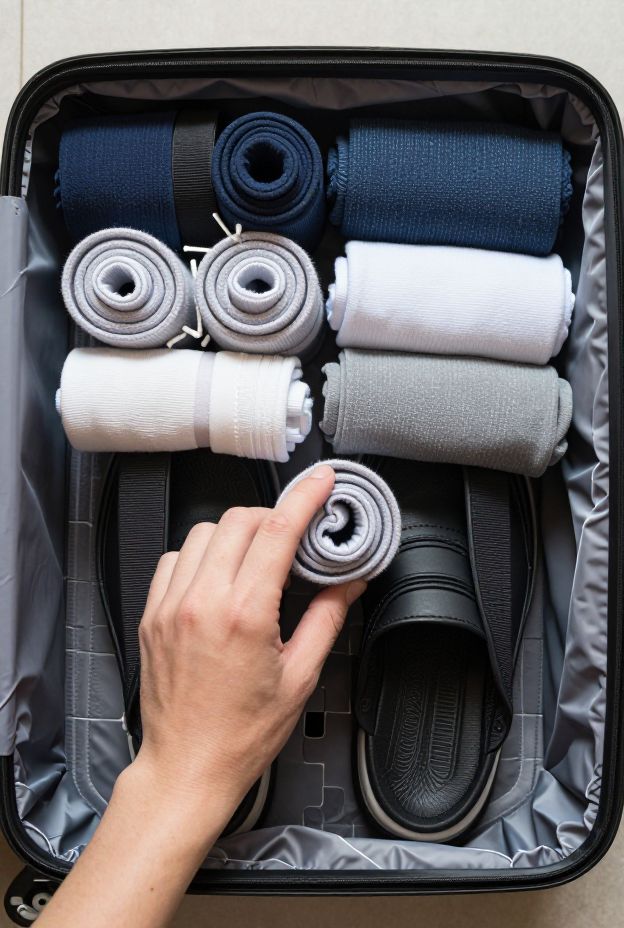
When I pack, I create a slight curve in the center by stacking flat items around the edges first. This creates pockets of space I can fill with smaller rolled items. Then I lay flatter things on top to compress everything down.
The final step? Close your suitcase and give it a good shake. Seriously. Shaking settles everything and reveals actual empty space you didn’t realize you had. If you’re desperate to fit one more thing, this trick works wonders.
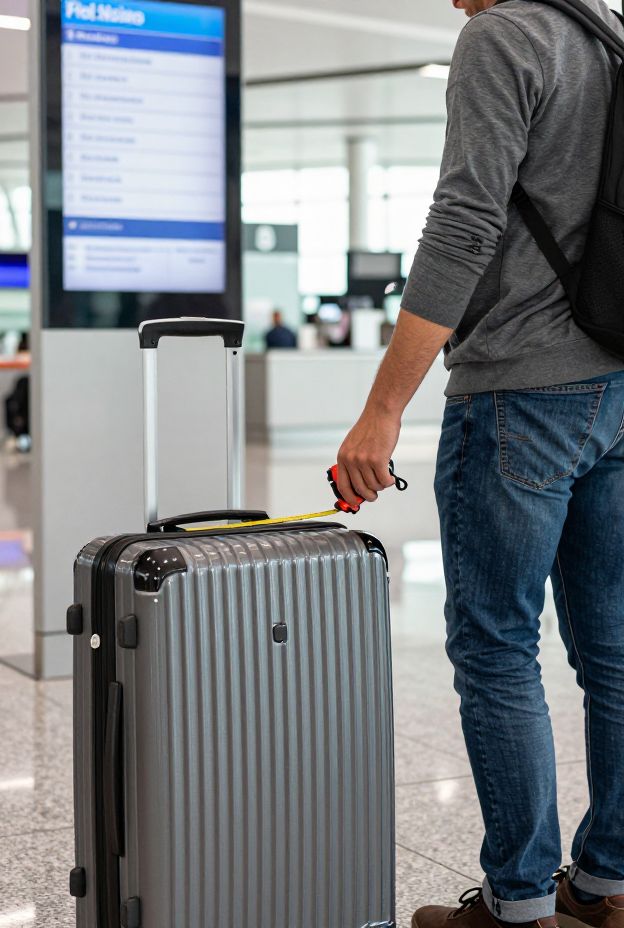
Check Weight Limits (Not Just Size)
Size matters, but so does weight. Some airlines enforce weight restrictions on carry-ons, typically around 15-22 pounds for international flights. Budget carriers are especially strict about this and will absolutely weigh your bag at the gate.
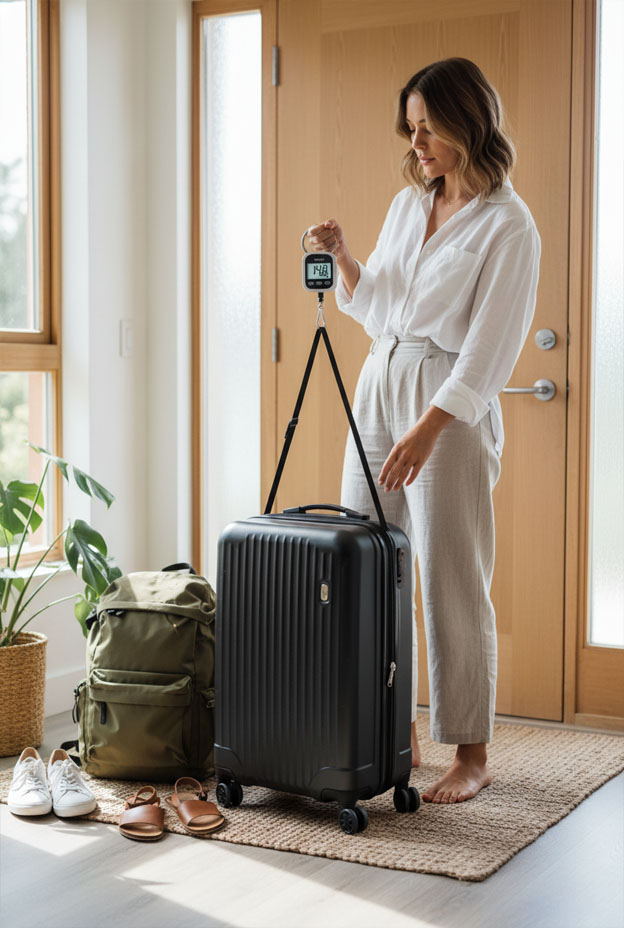
I keep a portable luggage scale in my travel kit. Before leaving for the airport, I weigh my carry-on. If I’m over, I redistribute items to my personal item or wear heavier things. Better to find out at home than at check-in.
European and Asian airlines tend to be more strict about weight than U.S. carriers, but that’s changing. Always check your specific airline’s policy before you fly to avoid surprise fees or forced checking.
Keep Prohibited Items Out of Your Carry-On
This should be obvious, but TSA still confiscates thousands of prohibited items daily. No large liquids, sharp objects, or flammable items in your carry-on. That includes pocket knives, scissors over 4 inches, and even seemingly innocent things like snow globes.
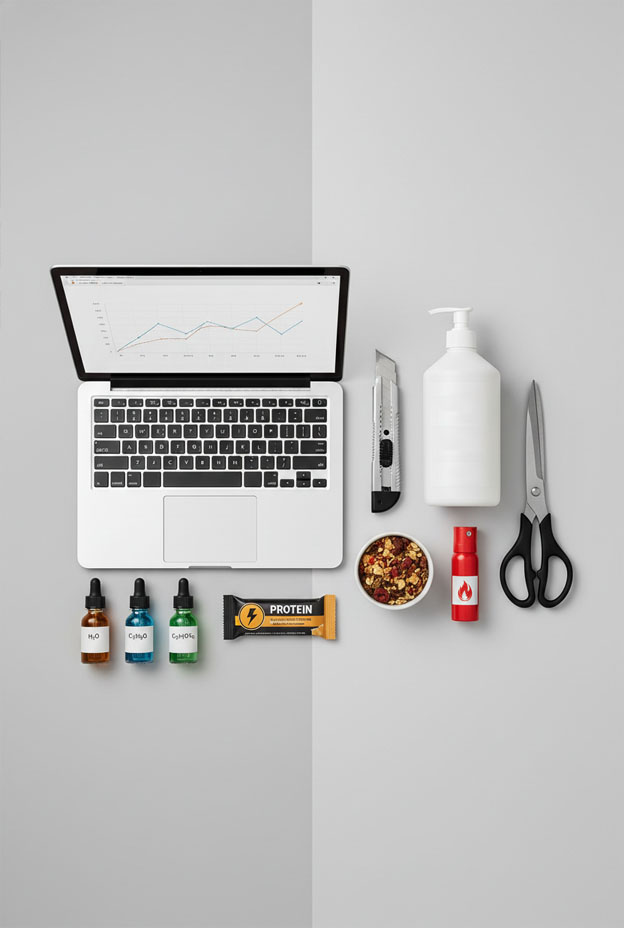
Some surprises that are banned: gel ice packs over 3.4 ounces, certain sporting equipment, pepper spray, and bear spray. If you’re unsure about an item, check the TSA website before packing. They have a searchable database of pretty much everything.
Tools under 7 inches are generally allowed, and solid foods are fine (but sauces and spreads count as liquids). When in doubt, pack questionable items in checked luggage or leave them at home entirely.
Organize Items by Priority and Accessibility
The worst packing mistake? Burying things you need at security or during your flight. I organize my carry-on in zones: frequently needed items on top, rarely needed items on bottom.
Top compartment gets electronics, liquids bag, and travel documents. Main compartment holds clothes and shoes. Side pockets get water bottle, snacks, and chargers. This system means I never dig frantically through everything to find my laptop.
Place TSA-sensitive items like liquids, snacks, and medications in easily accessible pockets. Security agents love when they don’t have to root through your entire bag. Plus, you’ll breeze through screening way faster than everyone else.
Following these 11 rules has saved me countless headaches, fees, and travel delays. You don’t need to overthink carry-on packing once you’ve got a system. Measure your bag, respect the liquid rules, organize strategically, and wear your bulkiest items. Do this consistently, and you’ll become one of those effortlessly smooth travelers who boards quickly while everyone else struggles. Safe travels!